Advanced Axure - Using the Widget Style Editor to build graphical prototypes
In Axure, you have several options to style your prototypes. Most of the type, the default, better defaults or a custom template (OS based for example) will be enough to quickly sketch your ideas and test concepts, to progressively iterate on a design direction.
Sometimes however, you may need to fully style your prototype according to graphic guidelines, for example, to build a prototype for user testing, or to cram design in a tight schedule.
In this article, we are going to learn how to cusomize your Axure’s CSS styles using the graphical interface. I will assume you know the basics, so, if you don’t know the basics, you should start with how to create your first Axure prototype.
Axure offers several ways of creating graphical prototypes. You can style each item individually if you’re only building a couple of pages. You can build a custom widget library if you need designed-reusable block on a longer term project. And you can customize your prototype’s CSS basics to easily change the styles of your widgets as you build your prototype.
Creating a test page
 To try out the feature and understand how it works, create a new page, and add 2 of each of the following widgets into it : “Heading one” “Heading two” and “Paragraph”.
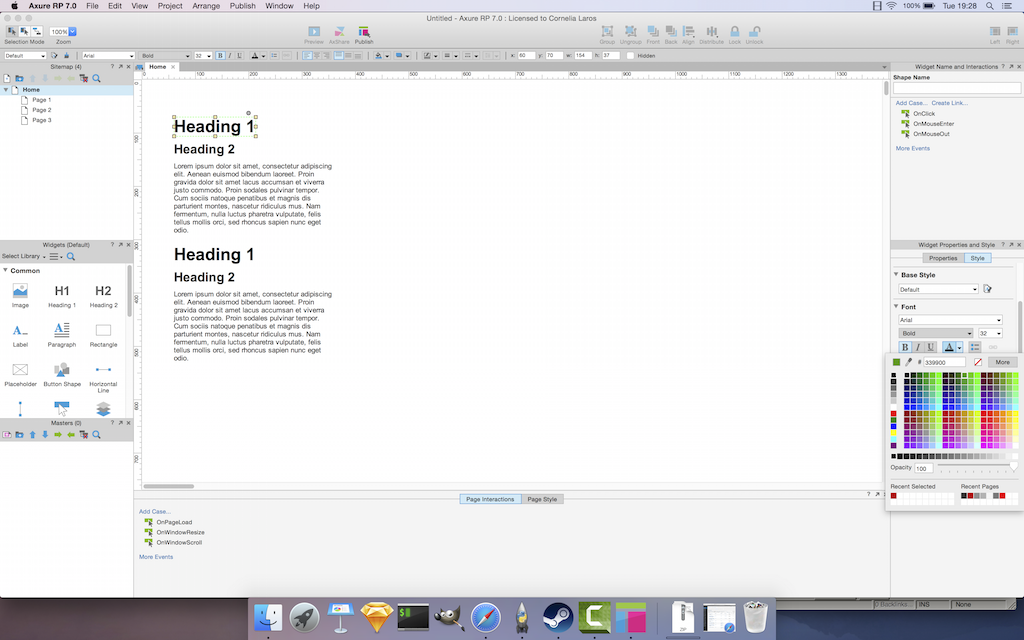
 If you’re reading this, you probably already know that you can change the appearance of your widgets using the shortcuts on top of the screen, or using the widget properties tab on the right column of the screen.
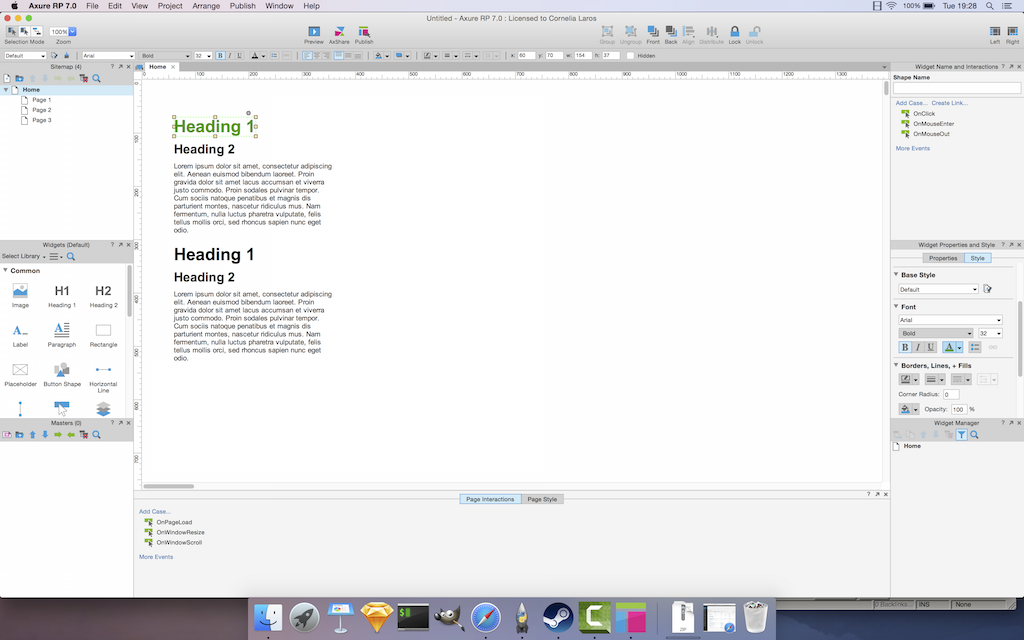
Use this to make your first title green. This will help you understand how the widget styling feature works.
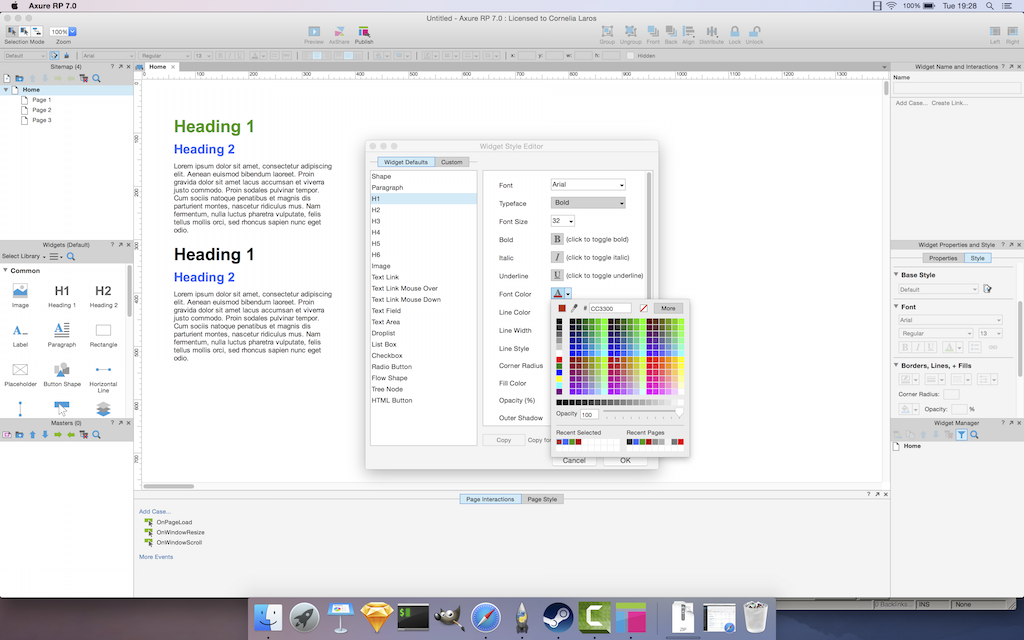
The widget styles dialog can be displayed using the tiny icon on the top left of your Axure interface, or through the menu, in Projects > Widget Style Editor.
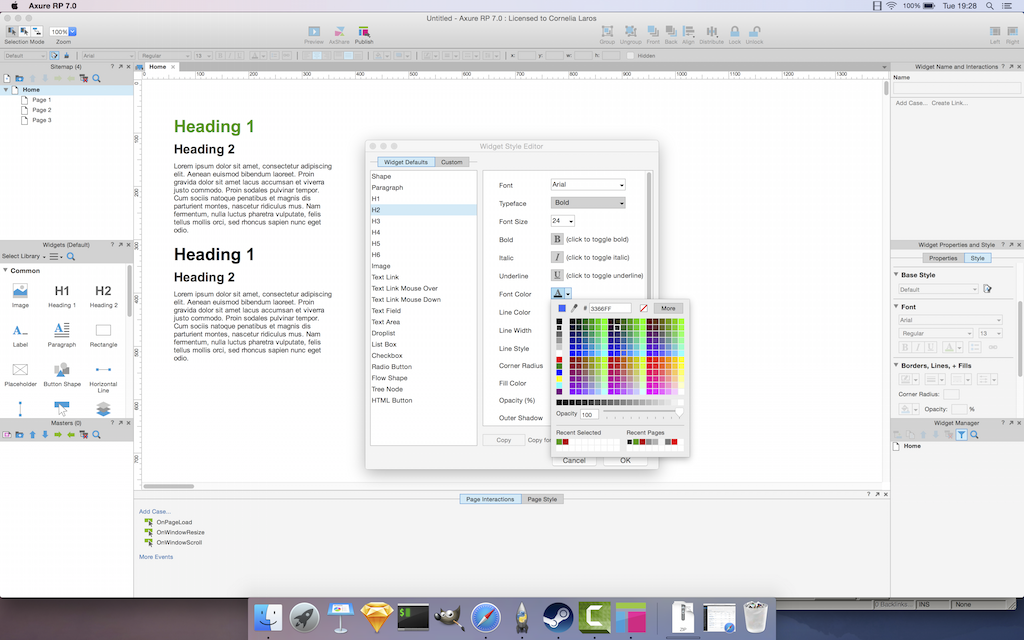
In that screen, you can see the different existing styles you can customize. Let’s change the style of H2 (our heading 2 text). In my example, I changed the color only. In the following screenshot, you can see that all heading 2 items of the page are now blue.
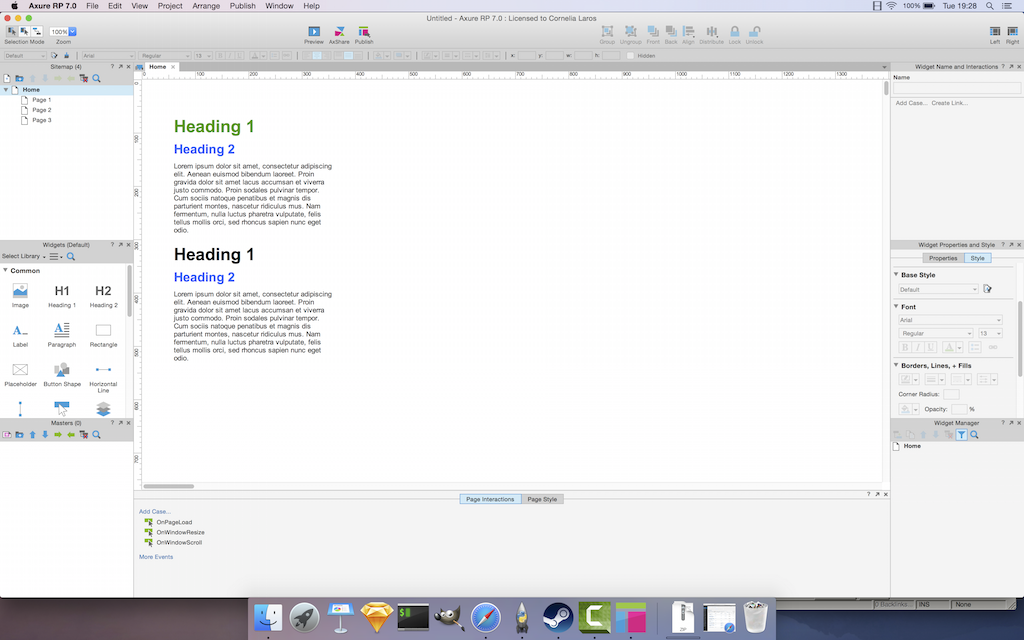
This allows you to quickly change the whole style of your page without selecting each single item, then editing its style. Better, you can do this as many times as you want with little effort.
Note : This only works on clean built prototypes.
Let’s repeat the change on the Title one level.
Again, open the Widget Style Editor, and now, select H1, nd change the color to red.
Now, only the second heading has become red. The first one has not been impacted. This is because the style is only applied if you didn’t change the style manually. This means this solution will NOT work if…:
- you try to edit the widget styles of an existing prototype that has been styled manually before, either when adding the widgets to the page, or because the widget library you used has been styled manually
- you try to edit widget styles on a page that does not use properly tagged widgets defined as h1, h2, h3 etc. For example, content visually appears as headings or paragraphs, but are actually rectangles that were all styled differently
To use this, you need to be rigorous in using the existing widget styles or create new ones using the Widget Style Editor, and only that.
Articles on similar topics
Axure basics - create a browsable interface
Axure training, Training in wireframing interactive prototypes, Interactive wireframing,
Axure basics - creating within-page interactions with anchors and visiblity
Axure training, Training in wireframing interactive prototypes, Interactive wireframing,
Axure basics - creating within-page interactions with dynamic panels
Axure training, Training in wireframing interactive prototypes, Interactive wireframing,
Axure - optimal widget use to iterate painlessly
Axure training, Intermediate Axure tutorial, Training in wireframing interactive prototypes, Interactive wireframing,
Axure - Creating menus with dynamic panels
Axure training, Training in wireframing interactive prototypes, Interactive wireframing,
Axure - How to create Masters and use them efficiently in Axure
Axure training, Intermediate Axure tutorial, Training in wireframing interactive prototypes, Interactive wireframing,